Last updated: November 05, 2026
In short: How to Use a Reacher Grabber Safely for Picking Up Items Without Bending is a practical skill that helps you pick up light items without squatting, twisting, or stretching into a risky position. A reacher grabber works safely only when the tool fits your hand, your reach, and the object you want to lift. Used well, it can take pressure off bending for a floor item or reaching to a shelf; used badly, it can drop things, pinch fingers, or encourage overreaching. The National Institute on Aging says mobility aids should match the task and the user, and a poorly fitted aid can create new problems.
Key Takeaways
- Reacher grabbers suit light items, not heavy loads, wet spills, or slippery objects that can swing free.
- Line up the jaws, squeeze slowly, and lift only after the item is centered in the jaws.
- Choose the shortest reacher that lets you pick up the target without bending or overstretching.
- Use the tool to reduce risky movement, not to force your spine into a reach.
What a reacher grabber does well, and what it should not do
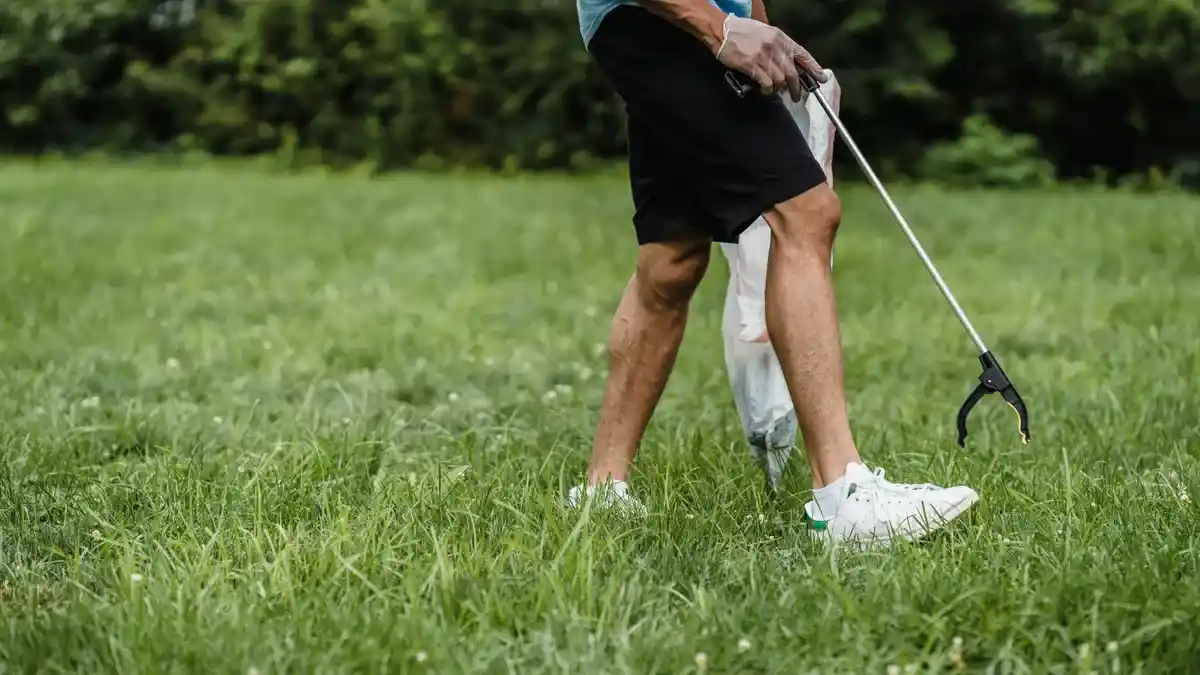
A reacher grabber is best for light objects, not heavy loads, wet spills, or anything awkward enough to swing out of control. The trigger handle closes a jaw or claw around an item so you can lift it from the floor, a low chair, a bed, or a shelf without folding at the waist. That sounds simple, but the tool only helps when the object is within the grabber’s working range and the user can keep a steady wrist.
The main job is to reduce unnecessary floor-level movement. That matters because repeated bending and twisting can turn a small pickup into a bigger problem, especially if a person already has back stiffness, knee pain, or trouble standing up from a low position. A reacher is not a cure for those issues; if pain or weakness is persistent, consult a clinician or occupational therapist. The World Health Organization and the National Institute on Aging both note that functional aids should support safe activity, not replace medical care.
It is also not the right tool for every object. A cereal box, sock, mail envelope, or light plastic bottle is the kind of thing a reacher handles well. A cast-iron pan, a glass jar full of liquid, or a small item with a slippery surface can defeat the grip. If the object is too heavy for one hand to hold at arm’s length, it is too much for the tool.
One practical rule: if the item would hurt to drop on a toe, or if it would be hard to control with one hand, think twice before using the grabber. Shoes with a firm toe box help, but they do not make unsafe lifting safe.
For a broader look at walking, standing, and home access aids, the hub on mobility aids for seniors is the right place to start. This page stays focused on the reacher grabber itself.
How do I use a reacher grabber without losing grip?
You use a reacher grabber without losing grip by lining up the jaws straight, squeezing the trigger slowly, and lifting only after the object is centered in the jaws. The difference between a clean pickup and a dropped item is usually setup, not hand strength.
Follow this core sequence:
- Stand close enough that the object is within the tool’s stated reach, often around 26 to 36 inches depending on the model, and keep both feet flat. The result should be a reach that does not pull your shoulder forward.
- Open the jaws fully before you move toward the item. A fully opened jaw gives a clearer target and reduces side pressure on the object.
- Place the jaws around the middle of the item, not the edge. The result should be an even hold rather than a tilted pinch.
- Squeeze the trigger handle smoothly instead of jerking it. A steady squeeze gives the jaw time to settle on the object.
- Lift a few inches first, then pause. If the item slips, lower it and try again before you commit to a full lift.
- Carry the object close to your body and move slowly. A short carry keeps the load from swinging.
- Release over a clear surface by easing off the trigger, not snapping it open. That can reduce the chance of the item jumping free, but it is still wise to keep your hand steady and clear the landing area.
Grip failure usually comes from trying to grab the wrong part of the item. Smooth plastic, thin paper, cords, and rounded edges are common trouble spots. If the jaws slip, rotate the item so the grabber catches a flatter section, or use a gentler lift angle.
A trigger handle matters here. Some handles need a firmer squeeze than others, and a person with weak grip strength may do better with a lighter trigger pull or a larger handle. If the handle feels like a hand exercise instead of a tool, it is probably the wrong model.
Choosing the right length and trigger style for your hand
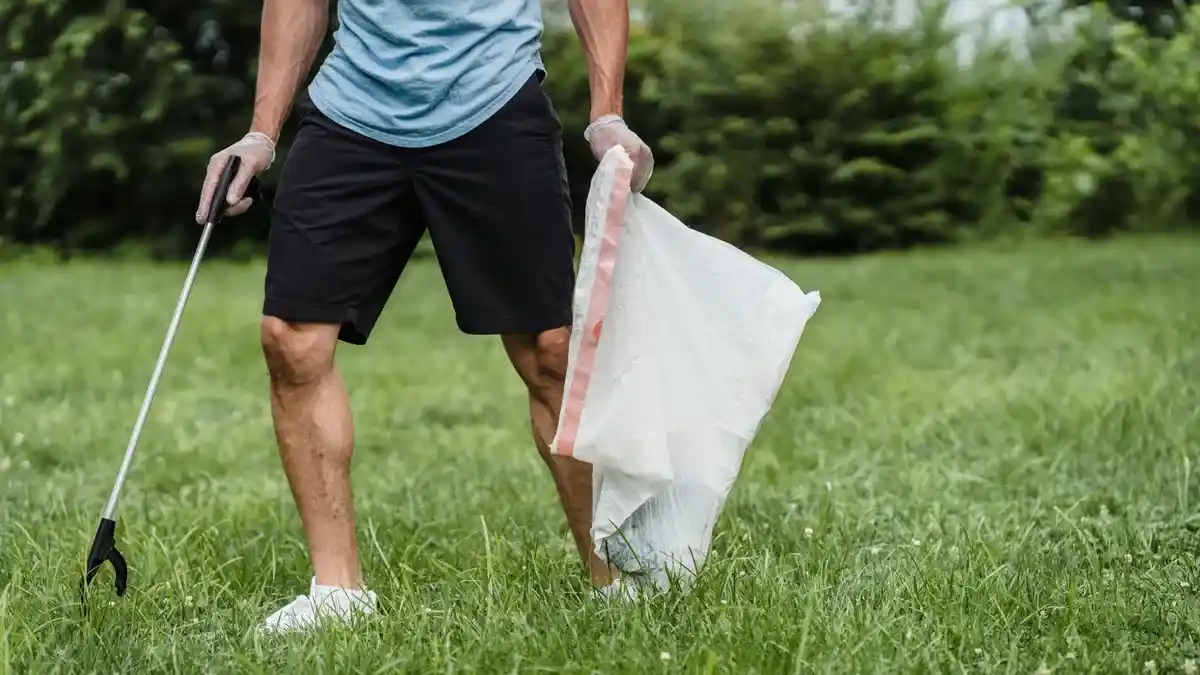
The right length is the shortest reacher grabber that lets you pick up the target without bending or overstretching. Longer is not automatically better. A 32-inch tool can keep you farther from the floor, but it can also feel less controlled indoors than a shorter model around 26 inches. The goal is control first, reach second.
Length affects three things: how far you can reach, how much torque you feel at the wrist, and how accurate the jaws are when you aim at a small object. A very long tool is helpful for a floor item behind a chair or under a bed. It is less helpful in a tight kitchen where you need to pick up dropped keys, a pill bottle, or a lightweight wrapper from a counter edge.
A simple fit check helps:
- If the grabber forces your shoulder up, it is too long for frequent use.
- If you must crouch deeply to use it on the floor, it is too short.
- If it feels hard to steer into a narrow spot, the shaft may be too long for your space.
Trigger style matters just as much. Some models use a pistol-style trigger, while others use a larger loop or squeeze handle. A person with arthritis, reduced finger strength, or tremor may prefer a bigger trigger surface because it spreads the force across the hand. A narrow trigger can be fine for someone with stronger hands, but it may cause fatigue after a few minutes.
The jaw shape matters too. A rubberized pad gives more friction on smooth items. A narrower jaw can reach between furniture legs or into a shelf corner. A wider jaw can hold bulkier light objects more securely, but if hand pain or grip weakness is an issue, consult a clinician before choosing by jaw size alone. The tool will be used mostly indoors, so a balanced model with medium reach and a moderate trigger pull is usually more practical than an extreme design.
One honest trade-off: a lighter trigger and softer jaw may feel easier, but they can also reduce holding force on slick objects. A firmer jaw may grip better, yet it can be harder to operate. The best choice is the one you can use repeatedly without strain, as long as it still holds the item securely.
Safe technique for floor items, shelves, and tight spaces
The safest way to pick up a floor item or reach to a shelf is to move the tool, not your spine. That means positioning your feet, aiming the jaws first, and avoiding the twist that usually comes from turning from the waist.
For floor pickups, start by standing square to the item. Slide one foot slightly forward if that helps you keep balance. Then lower the grabber by arm movement, not by bending deeply. Aim the jaws from above when possible. If the object is small, lower the tip of the tool until the jaws are nearly parallel with the floor, then close them around the item.
For a shelf, bring the grabber in straight. Do not hook from the side if the object can roll away. A package on a pantry shelf, a light box on a bedside stand, or a remote control on a high ledge is easier to catch when the jaws approach level with the base of the item. If the shelf is crowded, move nearby objects first instead of trying to fish through them.
Tight spaces need patience. Under a couch or beside a bed, the grabber may snag on furniture legs or rugs. Use small motions. Pull the tool back and re-aim rather than forcing it deeper. That habit protects both the object and your wrist.
Do not use the reacher as a pole to drag heavy items across the room. That turns a pickup aid into a lever and can make the object swing or drop. It also pulls the shoulder forward, which defeats the purpose of avoiding strain.
If you are trying to reach a spot that makes you lose your footing, stop and change the setup. Slide the object closer with your foot if it is safe, ask for help, or use a different aid. A reacher is useful because it reduces risk; once it creates a balance problem, it has crossed its line.
Common reacher grabber mistakes that cause drops or strain
The most common mistake is overreaching. That costs control and makes the wrist bend at an angle the tool was not meant to support. The fix is to step closer, not to lean farther. If the item is just out of range, move your feet and try again.
Another mistake is grabbing by the edge of the object. That often makes the item tilt, slip, or spin. The cost is a dropped item and sometimes a bruised toe. The fix is to center the jaws on the widest stable part of the object.
A third mistake is squeezing too hard on fragile items. A paper cup, a plastic bag with a loose handle, or thin packaging can crumple under too much force. The fix is to use the lightest squeeze that still holds, or pick a different contact point.
Some people also hold the grabber at the end of the handle and try to steer with the wrist alone. That reduces accuracy and can tire the forearm quickly. Hold the handle where it feels stable, even if that means using a slightly different grip.
One more problem is using the wrong tool for the job. A very short grabber may work at a bedside but fail on a floor item. A long one may work in the garage but feel clumsy in the kitchen. Having only one reacher can mean making bad choices. If a person uses one every day, a second length can make sense for different rooms.
There is also a safety issue with clutter. A cable, rug edge, or small stool near your feet can turn a simple pickup into a trip hazard. Before using the tool, clear the stance area. Good reacher use starts at the feet, not at the hand.
When a reacher grabber helps with fall prevention—and when it does not
A reacher grabber can help with fall prevention when the fall risk comes from bending, twisting, or reaching low. That is the main value of the tool: it keeps a person from doing a movement that may be unstable or painful. For many older adults, that is enough reason to keep one near the bed, recliner, kitchen, or laundry area.
It helps most when the task is predictable. Picking up a sock, a napkin, a dropped remote, or a light object from a hard floor is exactly the kind of job the tool was made for. It can also reduce the temptation to “just grab it quickly” and lose balance while stooping.
But it does not prevent falls in every situation. If the user stands on a chair, leans across a wet floor, or stretches too far for a shelf item, the tool does not change the risk much. It also cannot fix dizziness, weak legs, poor vision, or an unstable walking surface. Those problems need attention on their own.
This is the point where common sense matters more than force. If an item is under a bed frame, behind a heavy chair, or near a spill, it may be safer to ask for help or adjust the environment before reaching for it. A good reacher is part of a safer routine, not a substitute for judgment.
If a person has repeated near-falls, severe hand weakness, or pain with arm movement, a clinician or occupational therapist can help decide whether a different length, a different trigger handle, or another device is a better fit. That advice is especially useful when daily activities are changing and the same tool is no longer enough.
A simple maintenance routine that keeps the tool reliable
A reacher grabber works best when the jaws stay aligned and the trigger moves cleanly. Dirt, bent tips, and loose fasteners can turn a useful tool into a frustrating one.
Check three things about once a week:
- The jaws open and close evenly.
- The trigger handle returns smoothly after each squeeze.
- The rubber pads or grip surfaces are still intact.
Wipe the jaws if they pick up dust, crumbs, or sticky residue. A dry cloth is usually enough for regular cleaning. If the tool has a padded grip, make sure it does not stay damp after cleaning, because moisture can make the handle slippery.
Look at the tip for wear. If one jaw sits higher than the other or the grip surface is peeling, the tool may slip on light objects more often. That is not a small problem; it changes how much force is needed to hold an item and can make pickups unreliable.
Store the grabber where it is easy to reach. Hanging it near a chair, bed, or laundry area means it is more likely to be used instead of replaced by risky bending. A tool that lives in a closet tends to get forgotten. A tool within reach gets used the way it should.
FAQ
How do I use a reacher without losing grip?
Use the jaws on the center of the item, then squeeze the trigger slowly and lift a few inches before moving farther. A smooth squeeze and a centered hold matter more than raw hand strength. If the object is slick or oddly shaped, reposition it rather than forcing the grab.
What length reacher grabber is best?
The best length is the shortest one that lets you reach a floor item or shelf without bending or overextending. Many people find a mid-length tool easier to control indoors, while a longer model helps under furniture or for harder-to-reach spots. The right answer depends on your room layout and hand strength.
Can a reacher grabber prevent bending and falling?
It can reduce bending and help avoid some risky reaches, but it does not prevent every fall. A reacher grabber works best when the floor is clear, the item is light, and you stay balanced on both feet. It is a helpful aid, not a guarantee against loss of balance.
Drafted with AI; not yet reviewed by a person.