Last updated: August 11, 2026
- Key facts – Week 1: 3 sessions, about 10 minutes each.
- – Week 4: 5 days, with 1 lighter day and 1 full rest day.
- Seated breathing, 1 minute Sit tall with both feet flat.
- – Best setup: one sturdy, non-wheeled chair.
Quick answer: Chair yoga seniors: 4-week beginner routine you can do at home means 4 weeks, 3 to 5 short sessions a week, and about 10 to 15 minutes per session. For many older adults, chair yoga for seniors is one of the safest ways to get moving again at home. The real question is simpler than the search terms make it sound: what should I do, day by day, if I’m stiff, nervous, or dealing with balance issues? Start with a chair, keep one hand on it when needed, and follow a short, repeatable chair yoga seniors plan that builds from week to week without trying to do too much too soon.
Key facts
– Week 1: 3 sessions, about 10 minutes each.
– Week 2: 4 sessions, still short and controlled.
– Week 3: 5 sessions if recovery feels fine.
– Week 4: 5 days, with 1 lighter day and 1 full rest day.
– Best setup: one sturdy, non-wheeled chair.
– Safety rule: stop for new pain, dizziness, chest pain, or shortness of breath, and check with a clinician or physical therapist first.
I write about gentle exercise for older adults, mobility, and home routines, so I’ve seen the same misstep again and again: people either string together random stretches with no progression or jump into a full yoga video that asks for more balance than they have. Neither works well. This chair yoga seniors plan avoids both. It is built for beginners, especially seniors who want a calm routine they can do in a kitchen chair or sturdy dining chair with minimal setup.
Not a cure-all. And not for everyone. Anyone with a new injury, uncontrolled pain, dizziness, chest pain, or a medical condition that needs specific exercise limits should pause here. If that sounds familiar, check with a clinician or physical therapist first. The National Institute on Aging and the CDC both recommend checking how physical activity fits your health status before you start a new routine:
– National Institute on Aging: https://www.nia.nih.gov/health/exercise-and-physical-activity
– CDC: https://www.cdc.gov/physicalactivity/basics/older_adults/index.htm
Chair Yoga for Seniors: What Makes It Different From Regular Stretching
Chair yoga beats ordinary “touch your toes” stretching because it brings structure, breathing, and gentle strength work without asking you to get down on the floor. That matters for seniors. Getting on the ground can be awkward; getting back up can be worse. A chair gives you a steady base, cuts the balance demand, and makes the whole thing feel less intimidating.
What chair yoga seniors work really gives you is a mix: posture, joint motion, breathing, and body awareness. Honestly, I’d pick it for someone who wakes up stiff, sits a lot, or wants a routine that feels calm rather than punishing. It also helps people build confidence before they try standing balance drills. The Arthritis Foundation has joint-friendly exercise guidance that supports this kind of gradual approach: https://www.arthritis.org/health-wellness/healthy-living/physical-activity
But there’s a trade-off. Chair yoga will not replace walking, progressive strength work, or balance training if those are needed. If your goal is leg power, bone loading, or endurance, a chair routine by itself won’t get you there. In plain terms: you may feel looser and move more easily, yet still be weak if you never add walking or basic strength work.
For safety, use a sturdy chair without wheels. Keep both feet flat whenever a movement feels uncertain. Move slowly enough that you could stop at any moment without losing control. For general exercise safety guidance, the National Institute on Aging has practical advice on staying active as you age, and the CDC’s physical activity guidance for older adults is also worth reading:
– National Institute on Aging: https://www.nia.nih.gov/health/exercise-and-physical-activity
– CDC: https://www.cdc.gov/physicalactivity/basics/older_adults/index.htm
The Honest Side-by-Side

Think of it less as “hard” versus “easy” and more as supported movement versus unsupported movement. Chair yoga is the better starting point if your joints feel creaky, your confidence is low, or your balance is unreliable. Standing exercise makes more sense later if you want a bigger challenge, more weight-bearing, and better carryover to daily walking tasks.
| Criteria | Chair Yoga | Standing Exercise | Winner for condition |
|---|---|---|---|
| Balance demand | Low; the chair gives support | Higher; you must control your own balance | Chair yoga for unsteady beginners |
| Setup at home | Simple; one sturdy chair is enough | Also simple, but needs more clear space | Chair yoga for small rooms |
| Joint comfort | Usually gentler on knees, hips, and ankles | Can bother painful joints more quickly | Chair yoga for sore or stiff joints |
| Strength challenge | Light to moderate | Usually better for leg and core work | Standing exercise for strength goals |
| Confidence for beginners | High; feels less risky | Lower if fear of falling is an issue | Chair yoga for nervous starters |
| Cardio effect | Limited | Better if it includes marching or stepping | Standing exercise for heart-rate work |
| Ease of modifying | Very easy; hands and feet can stay supported | More limited if balance is poor | Chair yoga for people who need many options |
| Carryover to daily life | Good for posture, reaching, and getting up-and-down control | Better for real-world standing tolerance | Standing exercise if daily standing is the main goal |
My take is straightforward: chair yoga seniors routines are often the better entry point for most seniors who are starting from stiffness, fear, or deconditioning. Standing exercise wins later, not first. That distinction matters; a plan that feels too hard gets tossed aside fast.
Week 1: Start Small and Learn the Chair
Week 1 should feel almost too easy. Good. The body needs to learn the shapes first; the ego does not need a workout. Do this routine three days this week, with a rest day between sessions.
Seated breathing, 1 minute
Sit tall with both feet flat. One hand on your belly, one on your chest. Breathe in through the nose if that feels comfortable; breathe out slowly through the mouth. If nasal breathing feels strained, use whatever breathing is easiest and calmest.
Shoulder rolls, 5 slow circles each direction
Lift, roll back, and let the shoulders drop. Simple stuff, yes — but it often helps older adults who live in a rounded posture.
Neck side bends, 3 each side
Keep the motion small. Ear toward shoulder, not chin toward chest. Stop for pain, not just stretch.
Ankle pumps, 10 each foot
Lift toes, then point them. Good for waking up the lower legs.
Seated cat-cow, 5 rounds
Hands on thighs. Inhale to lengthen the spine; exhale to round slightly. Gentle only. No forcing.
Seated marching, 20 slow marches
Lift one knee at a time. If that is easy, pause for a second at the top.
Seated twist, 3 each side
Rotate from the ribcage, not by yanking the low back.
The drawback of Week 1 is obvious: it may not feel like exercise. That can annoy people who want to “feel it.” Don’t chase intensity yet. Rush this week, and soreness or fear usually shows up later. Week 1 is for habit, not heroics.
Week 2: Add Gentle Reach and More Control
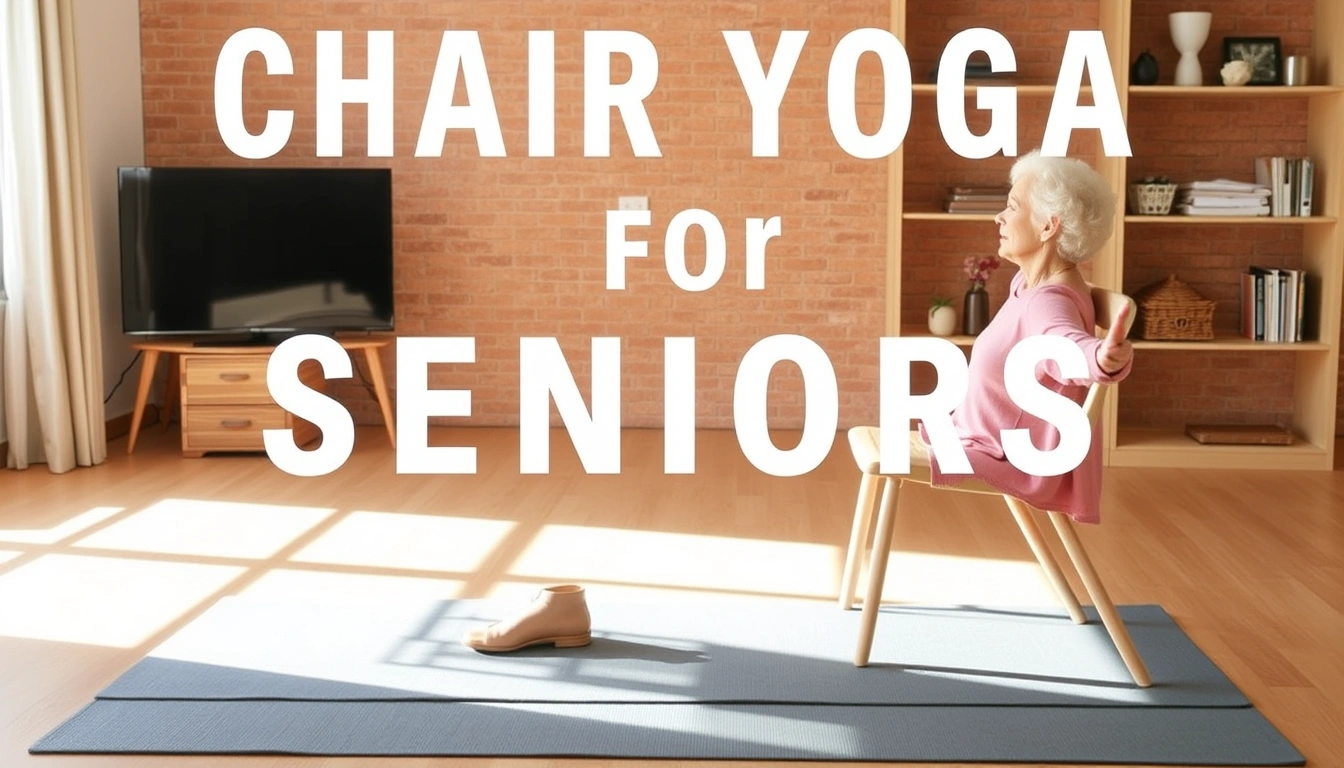
By Week 2, the routine begins to feel more like yoga than chair-bound stretching. Move to four days this week if Week 1 felt comfortable. Keep each session short.
Start with the Week 1 breathing and shoulder work, then add these pieces:
Overhead reach, 5 each arm
Reach one arm up and slightly forward. Keep ribs from flaring hard. This helps shoulder mobility without forcing the neck.
Side bend, 3 each side
One hand on the chair for support, the other arm reaching overhead. This opens the side body. Go only as far as you can keep your breath smooth.
Seated leg extension, 5 each leg
Straighten one knee, then lower. This begins light quadriceps work.
Seated ankle circles, 5 each direction
Useful if your ankles feel rigid or swollen, though swelling that is new or one-sided needs medical attention.
Chair-supported hamstring stretch, 20 seconds each side
Extend one heel forward with the knee soft. Hinge at the hips slightly until the back of the leg feels a mild stretch.
What Week 2 does better than Week 1 is build confidence with a few longer positions. Where it gets tricky is that asymmetries start showing up. One side may feel tighter; one knee may complain sooner. That isn’t failure. It’s useful data. Sharp pain? Skip the move and ask a clinician about it.
Week 3: Turn the Routine Into Light Strength Work
Week 3 is where chair yoga starts earning its keep for daily function. I’d use it five days this week if recovery has been fine. Not sweat. Control.
Begin with breathing, shoulder rolls, and seated cat-cow. Then add:
Sit-to-stand practice, 3 to 5 reps if safe
This one may move beyond chair yoga into basic strength training. If you can stand from the chair without using your hands, or with light hand support, do a few slow repetitions. If not, skip it and stay seated. Not mandatory.
Seated knee lifts with pause, 6 each side
Lift one knee and hold for a second before lowering. That pause matters more than speed.
Seated torso rotation with arms crossed, 5 each side
Turn gently and return to center. Keep hips mostly facing forward.
Seated “goalpost” arms, 5 reps
Elbows bent, upper arms lifted. This can help shoulder openness, but stop if it pinches.
Supported standing option, 20 to 30 seconds
If you feel steady, hold the chair and stand tall for a short posture drill. Feet hip-width apart. No marching yet if balance is shaky.
The honest drawback of Week 3 is that it can tempt people to ditch the chair and “graduate” too quickly. I wouldn’t rush that. The chair is still doing real work by lowering fall risk while you practice alignment and muscle control. If sit-to-stand feels wobbly or painful, stay seated and come back to it later.
Week 4: Build a Repeatable Home Routine
By Week 4, the routine should leave you with something you can keep doing, not a one-time challenge. The simplest win is consistency. I suggest five days this week, with one lighter day and one full rest day.
Use this sequence:
- Breathing, 1 minute
- Shoulder rolls and neck side bends, 2 to 3 rounds
- Cat-cow, 5 rounds
- Overhead reach and side bend, 3 to 5 each side
- Leg extension or knee lift, 6 to 8 each leg
- Twist, 3 each side
- Optional sit-to-stand, 3 to 5 reps if safe
- Short cool-down breathing, 1 minute
At this point, let your body decide, not ambition. If your joints like repetition, keep the same sequence for another month. If your hips hate one pose, remove it. If you feel better after four days instead of five, keep four days. The best routine is the one you’ll actually repeat.
What this month does not do is fix everything. It will not rebuild major strength by itself, and it will not solve vertigo, severe arthritis, or nerve pain. Still, it can reduce stiffness, improve confidence, and give you a low-risk place to start moving.
When to Reconsider This Choice Entirely
Chair yoga is not the right answer in every case. Better to say that plainly.
Reconsider this choice if you have new or worsening pain, especially in the back, hip, knee, or shoulder. Reconsider it if you feel lightheaded when sitting up, get short of breath at rest, or have chest discomfort. Reconsider it if your balance is so unreliable that even standing beside the chair feels unsafe. In those cases, a clinician should guide the next step.
Another reason to switch approaches is if you need more than mobility. If your main issue is difficulty rising from a toilet, climbing stairs, or carrying groceries, chair yoga alone is too light. You may need a physical therapist, basic strength training, or a walking plan.
One more honest limitation: chair yoga can become too comfortable. Sounds nice, sure, but it can also leave you stuck in the same easy range forever. The fix is small progression, not force. Add a rep. Hold a breath a little longer. Sit a little taller. Enough.
My Recommendation for the Right Beginner
My recommendation is to start with chair yoga if you are a senior who wants a gentle, low-risk home routine and you are not sure your balance can handle standing exercise yet. Choose a sturdy chair, use the 4-week plan above, and keep the sessions short enough that you finish feeling better, not drained.
Choose standing exercise if you already move confidently, want more leg strength, and do not need the chair for safety. Choose neither if you have new pain, dizziness, chest symptoms, or a condition that makes exercise limits unclear until a clinician clears you.
If you want a second opinion on exercise safety and aging, the Arthritis Foundation and the National Institute on Aging both have helpful public guidance on gentle movement and joint-friendly activity. I’d start there before adding more intensity.