Last updated: October 24, 2026
Quick answer: the best routine is to use a validated upper arm cuff, sit quietly for 5 minutes, take 2 readings about 1 minute apart, and write down the numbers with the time. Home blood pressure monitoring is the practical way to track your numbers at home after 60, and it works best when you use the same routine each time, an upper arm cuff, and a written log. In short: measure the same way, at the same times, and bring the pattern—not a single reading—to your primary care physician or pharmacist if the numbers worry you. For more on how to track blood pressure at home after 60: devices, readings, and when to call a doctor, the routine below keeps the focus on usable numbers.
Key Takeaways
- Rest, position yourself correctly, take two readings, and record them with the time.
- For most people over 60, an upper arm monitor with a correctly sized cuff is the practical default.
- Log the date, time, two readings, pulse, and anything that could explain the number.
- A reading is more concerning when it comes with symptoms, stays unusual after a proper repeat, or is far outside your normal range.
Who this is for, and what you need first
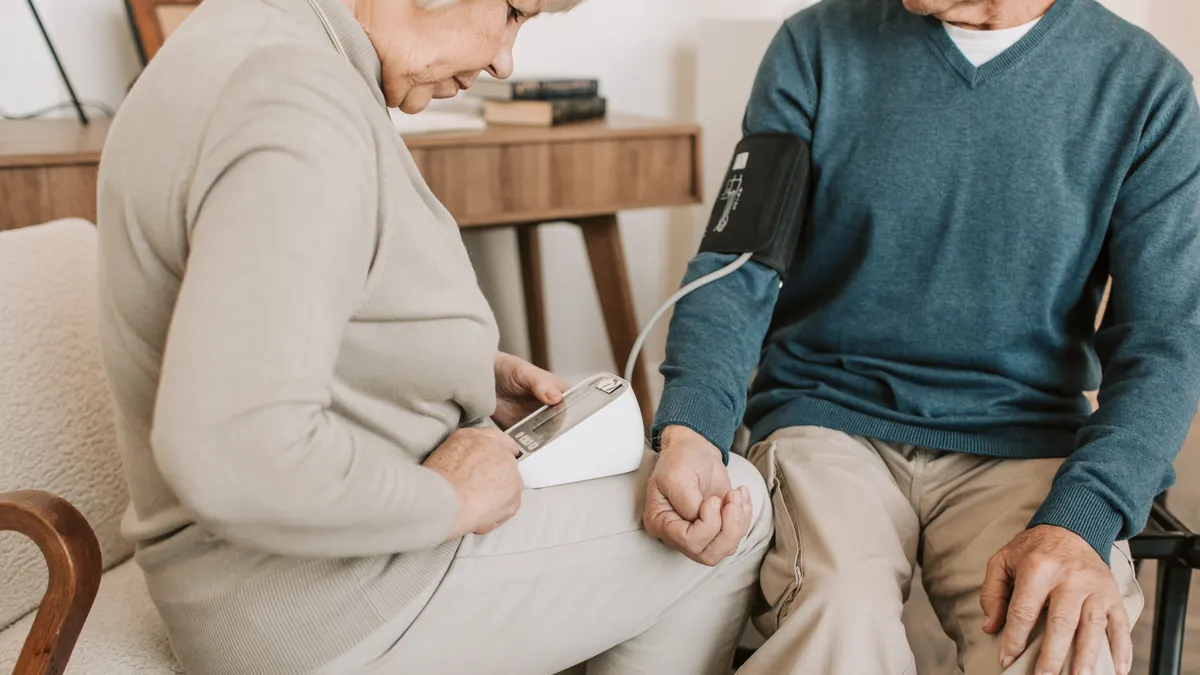
This is for adults over 60 who want a reliable home routine for blood pressure monitoring and already have a validated blood pressure monitor with an upper arm cuff, plus a home reading log or app. It assumes you can sit for a few minutes, read the screen, and follow a simple repeatable routine. It also assumes you are using this for tracking, not for diagnosing yourself or changing treatment on your own, and if you are unsure, ask a qualified clinician or pharmacist for guidance.
If you have symptoms such as chest pain, trouble breathing, fainting, new weakness on one side, confusion, or a severe headache, home tracking is not the right next step. Get urgent medical help instead. If your blood pressure has been unstable, if you recently changed medicine, or if you have kidney disease, diabetes, a history of stroke, or heart disease, it is wise to ask a qualified clinician how they want you to monitor. That advice is not a formality; older adults often need a plan that fits their medication schedule, mobility, and risk profile.
A good home setup is simple: a validated upper arm cuff, a chair with back support, a table at arm height, a pen or phone log, and a plan for morning and evening readings. A wrist cuff can be less consistent if position is off, so many clinicians prefer the upper arm style for home use. The American Heart Association and similar professional groups describe upper arm measurement as the standard home approach because positioning is easier to control. See the American Heart Association home monitoring guidance and the U.S. National Heart, Lung, and Blood Institute for the basic setup.
How to track blood pressure at home after 60
The safest routine is to rest, position yourself correctly, take two readings, and write down the numbers with the time. Before you start, make sure the cuff size matches your arm; a cuff that is too small or too large can give misleading readings.
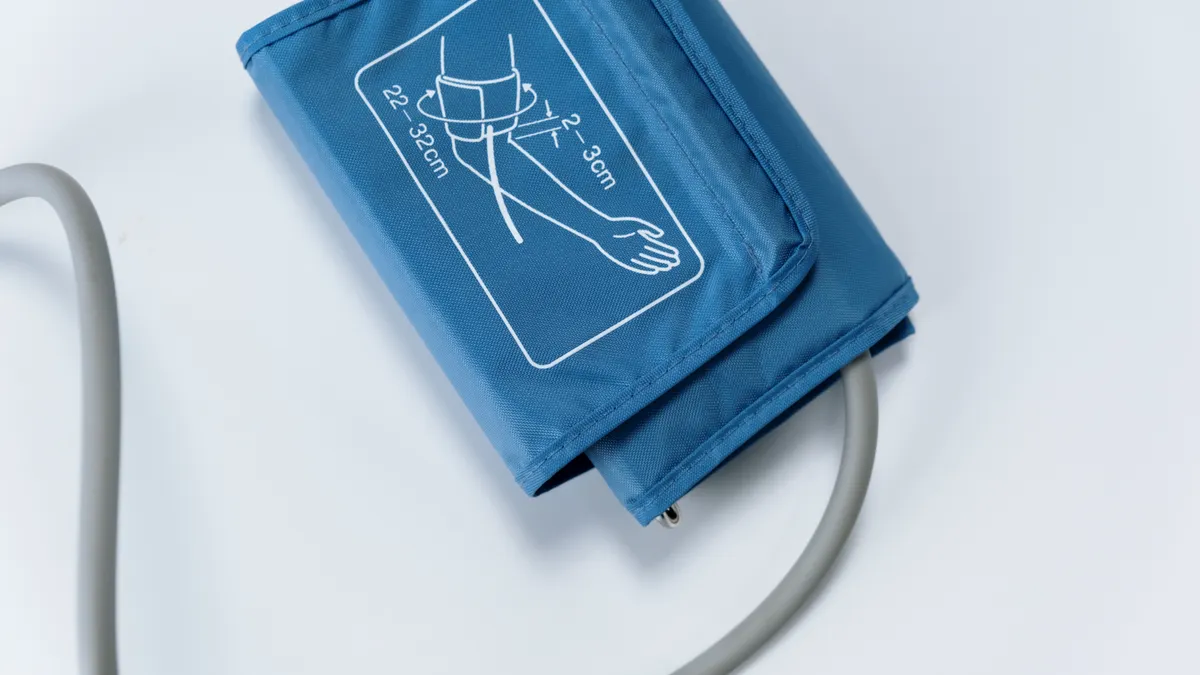
- Place the monitor on a stable surface and check the cuff size. Wrap the upper arm cuff around a bare arm, about 1 inch above the elbow crease, with the tubing positioned as the instructions show. Verify that the cuff is snug but not tight and that you can slip two fingers under it. A problem is a cuff that overlaps awkwardly, feels loose, or sits over clothing.
- Sit quietly for 5 minutes before measuring. Rest with your back supported, feet flat on the floor, and legs uncrossed. Keep the arm supported at heart level. Verify that you are not talking, texting, or watching something stressful. A problem is a rushed start, because movement and conversation can push the reading off target.
- Take the measurement at the same time of day. Many people use morning and evening readings, taken before food, caffeine, nicotine, or exercise when possible. Verify the routine is consistent from day to day. A problem is changing the timing, because that makes the log harder to interpret. Morning vs evening readings can differ for real reasons, so note the time on every entry.
- Press start and stay still until the cuff deflates. Keep the arm relaxed and breathe normally. Verify the monitor gives a systolic number, a diastolic number, and a pulse rate. A problem is moving, talking, or clenching the hand, which can distort the result.
- Wait 1 minute and repeat the reading. Take a second reading on the same arm after a short pause. Verify the second number is recorded alongside the first. A problem is stopping after one reading, because single readings are more vulnerable to noise.
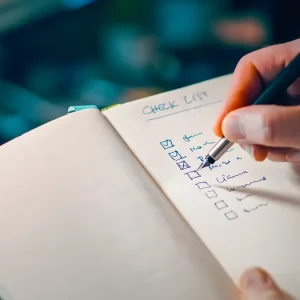
- Record both readings in a home reading log. Write the date, time, systolic pressure, diastolic pressure, pulse, and any note such as “before breakfast” or “felt dizzy.” Verify the entry is complete and legible. A problem is relying on memory or writing only one number, because trend review becomes much less useful.
- Use the average of the two readings when you review the pattern. Many clinicians use the average of repeated home readings rather than chasing one spike. Verify you are comparing like with like over several days, not reacting to one outlier. A problem is treating one higher or lower reading as the whole story, so bring repeated unusual values to a clinician for review.
- Bring the monitor to a clinic visit occasionally to compare it with office equipment. Ask a primary care physician or pharmacist whether the cuff and device are still giving readings that make sense for you. Verify the numbers are in the same general range when checked under similar conditions. A problem is a monitor that has been dropped, damaged, or used with a worn cuff.
For a general reference on proper technique, the American Heart Association’s home monitoring guidance is a useful starting point, and the U.S. National Heart, Lung, and Blood Institute also explains standard measurement steps. Those sources support the basic routine, but they do not replace personal medical advice for your own situation.
Which monitor and cuff are worth using?
An upper arm blood pressure monitor with a correctly sized cuff is the practical default for most people over 60. The device should be easy to read, the cuff should fit your arm circumference, and the instructions should be clear enough that you can repeat the same setup every time. A wrist cuff can be useful when the upper arm cuff does not fit, but only if the wrist stays at heart level during the reading and the device is used exactly as directed.
The term “validated” matters here. It means the model has been checked against accepted clinical accuracy standards, not just sold online with a label that sounds official. Some manufacturers and professional organizations maintain lists of validated devices, and that matters more than brand hype. If a monitor is hard to position, has tiny buttons, or makes you guess what the error codes mean, it will work against good home tracking.
Trade-offs are real. A basic monitor may do the job well if the display is clear and the cuff fits. A feature-heavy model with Bluetooth, memory, and multiple user profiles can be helpful, but only if you will actually use those features. If you dislike apps, buy the simplest machine you can manage and keep the log on paper. If your arm is very large, very thin, or shaped by swelling, ask a pharmacist or clinician to help confirm cuff size before you rely on the numbers. For device selection and cuff fit, the American Heart Association, the National Heart, Lung, and Blood Institute, and validated-device lists from professional groups can help.
What should I write in a home reading log?
You should write the date, time, two readings, pulse, and anything that could explain the number. A useful log is plain and repetitive, not clever. The goal is to see a pattern over days or weeks, not to create a perfect spreadsheet.
A good entry includes:
- Morning or evening time
- Systolic and diastolic numbers, such as 128/74
- Pulse rate if the monitor shows it
- Which arm was used, if that matters for your clinician
- Notes such as missed medicine, pain, stress, caffeine, or a walk just before the reading
A simple home reading log can be paper, a note in your phone, or a printed chart. The format matters less than the consistency. If you are trying to show a pattern to a primary care physician, a week or two of well-kept entries is more useful than a memory of “mostly okay.” If you are seeing repeated readings that differ a lot, the log helps a clinician decide whether the issue is technique, timing, or something that needs a closer look.
One useful habit is to separate “what I measured” from “what I felt.” A number of 142/86 taken after climbing stairs means something different from the same number after 5 quiet minutes in a chair. That context can make a real difference in interpretation.
When should a blood pressure reading worry me?
A blood pressure reading worries me when it is paired with symptoms, when it stays unusual after a proper repeat, or when it is far outside your normal range. One isolated number is not the whole picture.
Chest pain, shortness of breath, fainting, severe headache, confusion, or new one-sided weakness: These may signal an emergency — call emergency services or seek urgent care right away, rather than rechecking at home.
A very high reading that remains high after resting and repeating it: This can mean the number is not just a fluke — contact a qualified clinician promptly for advice on what to do next.
A very low reading with dizziness, falls, weakness, or near-fainting: This can point to poor tolerance of your current routine, dehydration, or another problem — seek medical advice the same day.
Repeated readings that are consistently higher or lower than your usual pattern over several days: This can mean the trend needs review, even if you feel fine — share the log with your primary care physician or pharmacist.
New irregular pulse notices on the monitor, especially with symptoms: This can happen with rhythm issues or device artifacts — do not assume it is harmless; ask a clinician how they want you to proceed.
A cuff that repeatedly gives error messages or wildly different numbers: This suggests a technique or equipment problem — stop trusting that setup until a pharmacist or clinician helps confirm the device and cuff fit.
What matters most is the combination of number, repeat reading, and how you feel. If you are unsure, err on the side of asking for professional advice. Home monitoring is a tool for pattern recognition, not a replacement for judgment.
The mistakes people make with home blood pressure monitoring
The most common mistakes are easy to fix, and fixing them makes the log much more meaningful. They also explain why two people can use the same monitor and get different results.
Using the wrong cuff size: A cuff that is too small can inflate the reading; a cuff that is too large can do the opposite. The correct alternative is to measure the arm and buy the size the monitor specifies.
Talking or moving during the reading: Speech, crossed legs, and shifting in the chair can change the result. The correct alternative is to sit still for the full measurement and keep both feet on the floor.
Taking only one reading: A single number can be noisy. The correct alternative is to take two readings about 1 minute apart and note both.
Checking at random times: A midday reading after activity does not compare well with a quiet morning reading. The correct alternative is to use the same morning and evening schedule when possible.
Writing down only the “good” readings: Cherry-picking makes the log unreliable. The correct alternative is to record every planned reading, even if it is awkward.
Ignoring equipment maintenance: A cracked cuff, low battery, or damaged tube can ruin the whole routine. The correct alternative is to inspect the device regularly and replace worn parts before the numbers become questionable.
This is also where a pharmacist can be useful. A pharmacist can often help you check cuff fit, device setup, and whether your monitor looks appropriate for home use. That kind of quick review can save weeks of bad data.
When the standard approach does not apply
Standard home blood pressure monitoring needs adjustment if you have arm size changes, rhythm problems, or difficulty sitting still. The usual “sit, rest, measure twice” routine is still the starting point, but it may need help.
If your upper arm is very large or very small, cuff fit becomes the main issue. In that case, the first job is not more readings; it is confirming the cuff size. If you have swelling, a shunt, or a medical reason to avoid one arm, ask which arm should be used. If one arm consistently reads higher than the other, tell your clinician; the difference itself can matter.
If you have an irregular heartbeat, some home monitors may struggle to give steady results. That does not mean home monitoring is useless, but it does mean the numbers should be interpreted more carefully. If the device shows repeated error messages or an irregular pulse symbol, write that down and bring it to a clinician rather than assuming the machine is wrong every time.
If standing for 5 minutes is hard, measure seated as directed and keep the setup consistent. If arthritis, tremor, or vision problems make button-pressing difficult, choose a monitor with large controls and a clear display. If memory is the obstacle, set phone reminders for the same 2 times each day. The point is not to force a perfect method; the point is to make a repeatable one.
For broader planning around aging well and getting organized with care, the medical planning after 60 hub can help connect this routine to the rest of your health decisions.
What a good routine looks like after 2 weeks
A good routine after 2 weeks is boring in the best way: the setup is the same, the log is complete, and the numbers show a pattern you can discuss. You should be able to look back and see morning readings, evening readings, and whether the values cluster in a consistent range.
A useful routine is often 2 readings at each session, at about the same times each day, recorded for several days in a row. If you prefer a single daily check, ask a clinician whether that matches your situation, because the best schedule depends on why you are monitoring and what decisions the numbers are meant to support. The goal is not to produce perfect numbers. The goal is to produce trustworthy ones.
If the device, cuff, and log are working, the next step is not to chase every fluctuation. It is to review the pattern with a qualified professional when the readings are consistently outside your normal range, when symptoms appear, or when the monitor and your body seem out of sync. That is the point where home blood pressure monitoring becomes useful clinical information instead of just data.
What is the best way for seniors to measure blood pressure at home?
The best way is to use a validated upper arm cuff, sit quietly for 5 minutes, keep the arm at heart level, and take 2 readings about 1 minute apart. The first sentence of your log should say the time and the numbers. If the cuff fit is wrong or the setup varies, the result becomes much less useful.
Drafted with AI; not yet reviewed by a person.